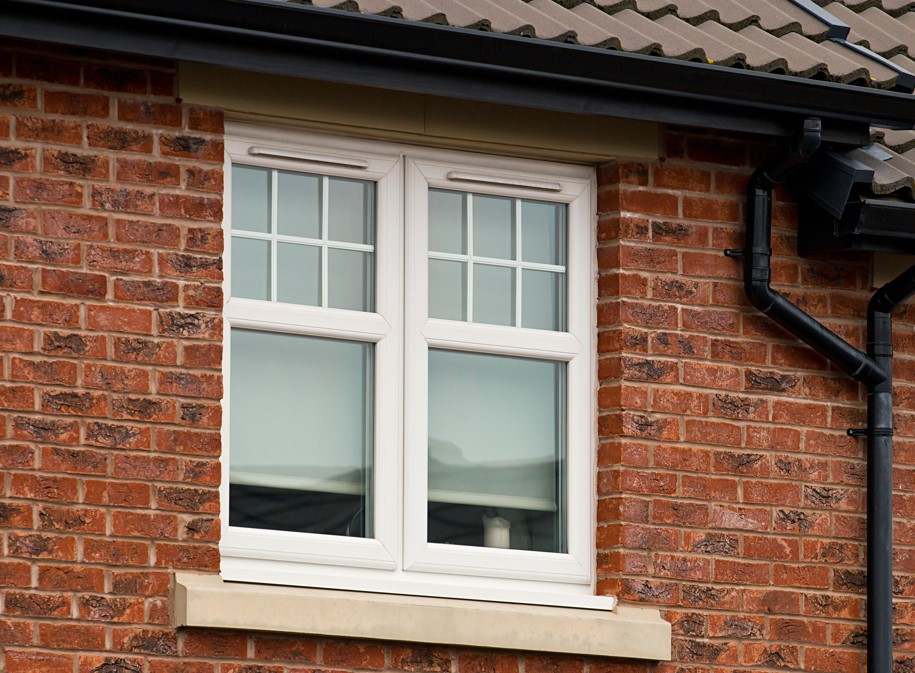
Upgrading your home with plastic windows is a great investment that can improve the overall appearance, energy efficiency, and comfort of your home. If you’re considering this upgrade, this step-by-step guide will help you understand what to expect and how to get started.
Step 1: Evaluate Your Needs and Budget
Before you begin your upgrade, you need to evaluate your needs and budget. What type of plastic windows do you want? Do you want to replace all the windows in your home or just a few? What is your budget for the project? Answering these questions will help you determine the scope of your project and give you an idea of the cost.

Step 2: Choose the Right Type of Plastic Windows
There are several types of plastic windows available, including double-hung, casement, sliding, and more. Each type has its own advantages and disadvantages, so it’s important to choose the right one for your home. Consider factors such as your home’s architectural style, ventilation needs, and ease of maintenance when making your decision.
Step 3: Hire a Professional Installer
To ensure the best results, it’s recommended that you hire a professional installer to install your new plastic windows. Look for a reputable installer with experience in installing plastic windows. They will be able to guide you through the process, provide expert advice, and ensure that the windows are installed correctly.
Step 4: Schedule the Installation
Once you’ve chosen your installer, schedule the installation at a time that works for both you and the installer. The installation process can take anywhere from a few hours to a few days depending on the number of windows being installed, so be prepared for some disruption to your daily routine.
Step 5: Prepare Your Home for the Installation
Before the installation begins, you’ll need to prepare your home. Remove any window treatments, such as blinds or curtains, and clear the area around the windows being replaced. This will allow the installer to work efficiently and minimize the risk of damage to your belongings.
Step 6: Remove the Old Windows
The installer will begin by removing the old windows. They will carefully remove the window sashes, frames, and any trim around the window. They will also inspect the opening to ensure that it is in good condition and make any necessary repairs.
Step 7: Install the New Plastic Windows

Once the opening is prepared, the installer will begin installing the new plastic windows. They will carefully insert the window into the opening, making sure that it is level and secure. They will then add any necessary trim and seal around the window to ensure that it is air and water-tight.
Step 8: Clean Up and Test the Windows
After the installation is complete, the installer will clean up the work area and test the windows to ensure that they open and close smoothly and are properly sealed. They will also show you how to operate the windows and answer any questions you may have. Create maximum security with plastic windows in Canada.
Step 9: Enjoy Your New Plastic Windows
Congratulations! You’ve successfully upgraded your home with plastic windows. Enjoy the many benefits of your new windows, including improved energy efficiency, enhanced curb appeal, and increased comfort and security.
In conclusion, upgrading your home with plastic windows can be a great investment that improves the overall value and livability of your home. By following this step-by-step guide and working with a professional installer, you can ensure a successful and stress-free installation process.
